
“Endo eLearning” Session
ACG is proud to offer the first augmented reality hands-on endoscopy training via video conferencing on a national and international stage. Faculty from three remote locations will demonstrate basic endoscopic procedures using hands-on simulation models. A panel of experts will moderate the session and share insights. Submit your questions via Zoom chat during the session and engage with the experts. Anyone registered for any ACG 2020 course can join this special session on Sunday, October 25 from 10:15 AM - 11:15 AM Eastern.
Atlanta VR Recording Session Zoom Link
Time: Oct 9, 2020 08:00 AM Eastern Time (US and Canada)
Join Zoom Meeting
Endosim Oculus VR Setup Instructions
Initial Setup
Plug in laptop power cable
Plug in ethernet cable (A high speed ethernet connection is recommended - but a high speed wifi can be used if needed)
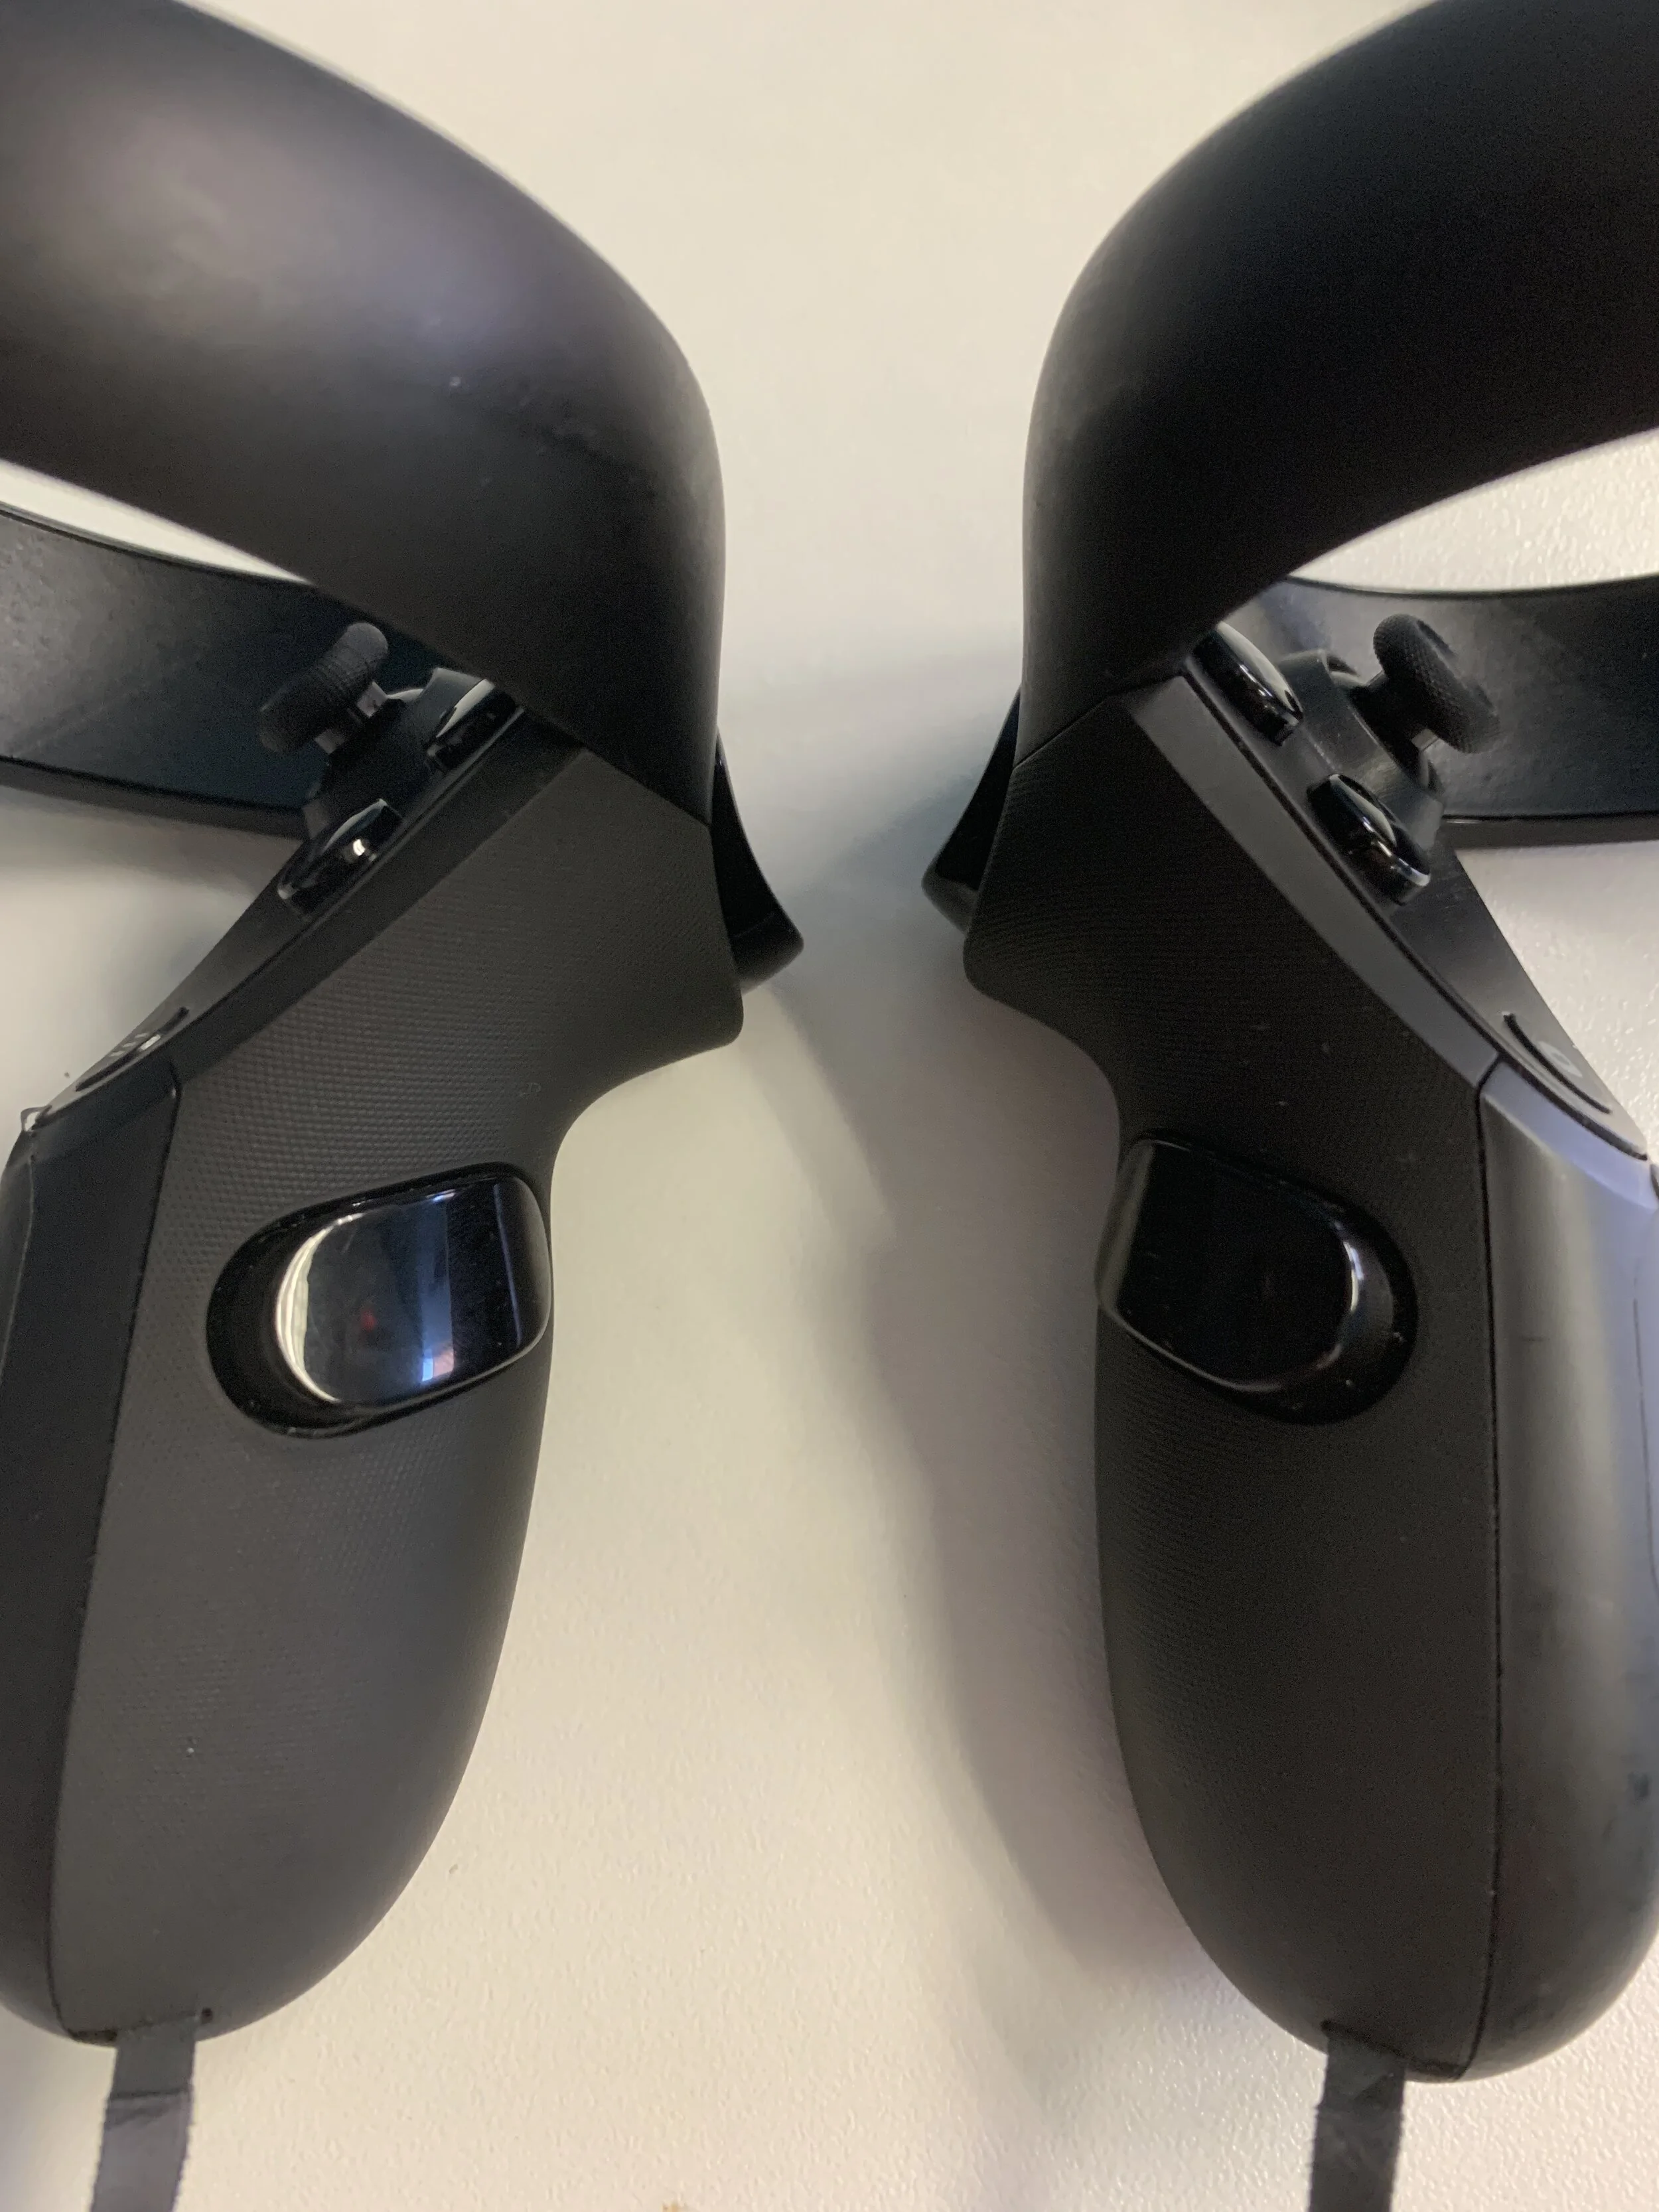
Connect Oculus USB-C cable from left side of headset to the USB port of the laptop
Power on Laptop - PIN 1226
Watch Basic Introduction to Oculus video
Watch How to use controllers video
Power On Oculus
Press the power button on the right side of the head set
Put on headset - follow instructions (and above video) for adjustments and setup of “guardian”
You may need to power on controllers by pressing controller power buttons
Allow Access to data


Computer Applications (please read then watch videos)
After the Oculus headset is powered on - please remove (or adjust to setup computer)
Open Oculus App on computer (and minimize)
Open Steam App on computer (and minimize)
Put on Headset and enable Oculus Rift -(see video) then remove headset
Open SteamVR App on computer - check for headset and controllers to be highlighted
Opening / setting up Zoom - (please read below then watch videos)
If you have a username for zoom - please click the Zoom App Link and enter your credentials. Then follow the steps below in the videos
Open Microsoft Edge (internet)
The second tab of the window will have instructions and a zoom link
Click Zoom Link
Allow “open” on “this site is trying to allow Zoom meetings” popup
You will then enter the room - or be in waiting room until meeting is started
Maximize screen
Check Sound
Microphone - Oculus - “headset microphone - Oculus Virtual Audio Device”
Speaker - Oculus - “ Headphones - Oculus Virtual Audio device)
Check Camera
Unity Camera - Start camera
Change Name - If needed
Pin Endoscopic Image - this is the Zoom Participant who is doing the procedure
Opening Spaces
Open Spaces App
Click “Enter Spaces”
Click Sketchfab 3D Models – Accept
Click Go to VR
Adjust Height – Stand with headset on and Press the trigger
Helpful VR SPACES Guide
Pick an Avatar
Oculus has preset avatars that you can choose from (please read, watch video and put on headset)
Press the “X” Button on your right controller to open up your menu. Use your pointer to navigate through selections and trigger to select (see Video below)
Spaces awkwardly puts you facing a screen, move you head to get a better view of current environment
Either use “X” to close the menu, or navigate back to choose your environment (below)
Select the Environment
We reccomend the Desert Environment for beginner users. This is pre set-up in a “user friendly” way.
Press the “X” Button on your right controller to open up your menu. Use your pointer to navigate through selections and trigger to select (see Video below)
Use “X” to close your menu
Navigating through your VR environment
Grabbing Items
Use either triggers on your left or right controller to grab and move items
Markers, Erasers, Cameras, Monitors

Teleporting/Turning
To turn - move your left control “joy stick” to the left or right. This will pivot your orientation
To Teleport (move to another location) - Slight press your left control “joy stick” forward. This will show an arch and ring (see image). You can move this “arch” to the desired location and let go of your joy stick. This will teleport you. Then turn (using the joystick) to pivot your point of view
Select Virtual Camera
This is the camera view as seen in Zoom
The yellow blocks in the room are your Virtual Cameras. Use your triggers to select the camera you would like to use.
CAM 5 Desktop - should be used for Zoom
CAM 9 Whiteboard - Should be used for writing on Whiteboard
Virtual Desktop
The Virtual Desktop is where the zoom call will be. This will show what ever is currently displayed on the laptop. Minimize all other windows and maximize the zoom call. (PIN the Endoscopic view you are reviewing - this will stop zoom from automatically changing your image when someone talks)
You can draw on this virtual desktop
You can open other apps if you like (such as internet, videos, pictures, etc)
White Board
You can use this to draw images/ sketches of procedures